It LIVES!!!
 The first year of our marriage, my wife got me an iPod for my birthday. It was a wonderful gift, that I used as often as I could. As a first generation iPod, it suffered from the battery problems that all first-gen iPods would become notorious for, so over the years it was eventually relegated to use as an external hard drive (that's why I love iPods: besides the fact that they are cool, and fulfill their intended function perfectly, they continue to serve you even in their twilight years).
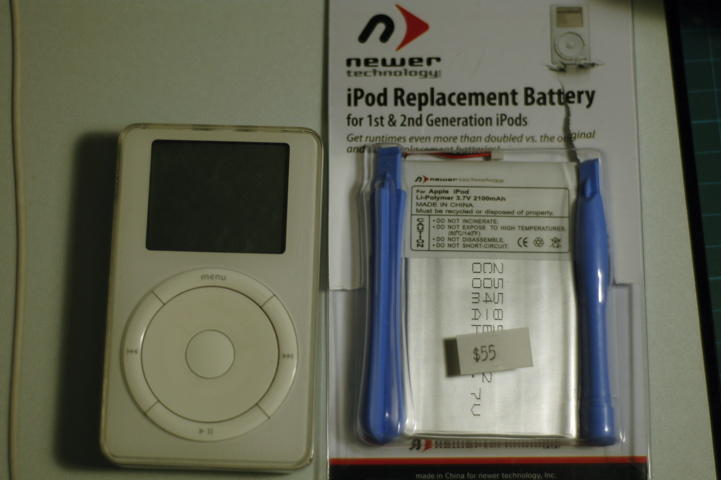
While browsing through the Macshop, I found this battery replacement kit by Newertech, and I thought "what the heck - it's worth a try". Anything to give the old baby a new lease of life. This iPod has more than sentimental value for me.
A few notes for those who'd try the same thing.
- I did not, despite the dire warnings, take proper precautions against static electricity. I don't even know what those precautions are. But you should. Cos it's the right thing to do.
- You need to remove the shiny metal backplate of the iPod to get at the battery, and the two nylon tools supplied (the blue things in the photo above) are really delicate: I almost broke them trying to pry the case off. I suppose they're made that way (i.e. soft) so you won't scratch your iPod. But mine was fairly well scratched anyway, and it really wasn't coming apart as easily as the instructions implied.
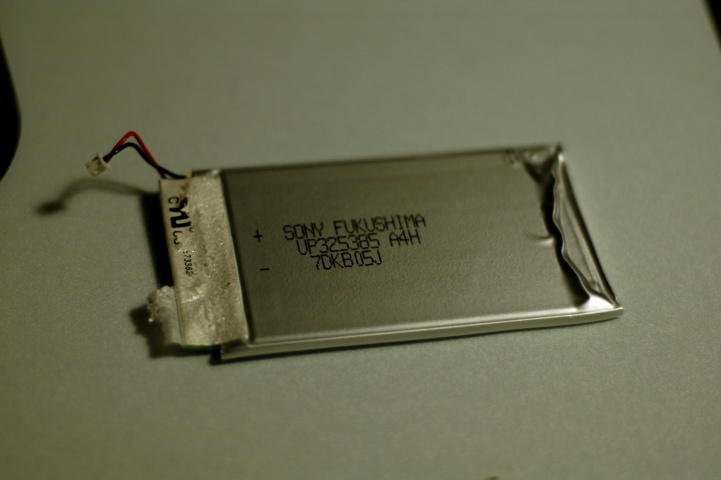
- The hardest part of the whole process is detaching the battery from the hard drive. The two adhesive strips (more like mounting tape) were really tough, and in
wrenchingpeeling the old battery off I think I saw my hard drive warp slightly. Oops. It still works though.
Other than that, the process is a breeze. It took me almost 15 minutes of careful, slow work (and many repeated attempts) to get the back plate off, but replacing it was a breeze. As I type this, my old iPod is happily suckling at the firewire port of my computer, charging its new battery for a second lease of life. For some reason, the only music on it now is Educated Guess by Ani DiFranco.


Comments
It's a fairly easy process, but slow because you don't want to risk harming the pod.